How to install Postgresql 9.2.4 in CentOS 6.4
PostgreSQL is an open source object relational database system. It comes pre-bundled with CentOS 6.4, the version of Postgres that is bundled with CentOS 6.4 is 8.4.13. The latest version of Postgres available as on today is 9.2.4. If we wish to install this latest version in CentOS 6.4, we have to follow the following steps:
Step 1: Download PostgreSQL v9.2.4 from postgres website by clicking on Download button, given below:
DOWNLOAD PostgreSQl – v9.2.4
[postgresql-9.2.4.tar.gz]

Step 2: Copy this file in /usr/local/src
Step 3: Change directory to /usr/local/src, as shown in Figure-1.
[Figure-1]
Step 4: Unzip the contents of tar using ‘tar -xvzf postgresql-9.2.4.tar.gz’ command as shown in Figure-2.
[Figure-2]
Step 5: Change directory to postgresql-9.2.4, as shown in Figure-3.
[Figure-3]
Step 6: Start the installation of Postgres by typing the command: ‘./configure –without-readline –without-zlib’, as shown in Figure-4. 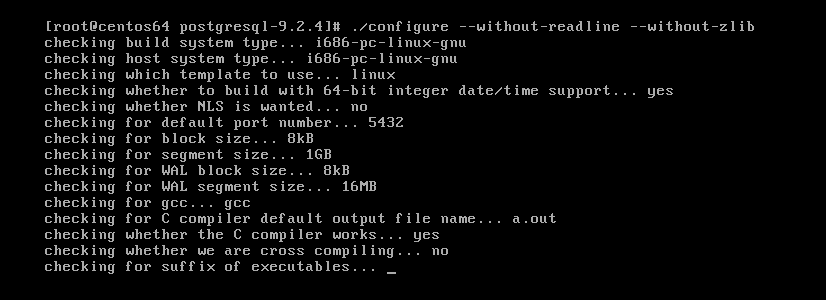
[Figure-4]
Step 7: Run command ‘gmake’ as shown in Figure-5.
[Figure-5]
Step 8: Run command ‘gmake install’ as shown in Figure-6.
[Figure-6]
Step 9: Add user ‘postgres’ in CentOS using adduser command and set a password for this user using ‘passwd postgres’ command as shown in Figure-7.
[Figure-7]
Step 10: Make a new directory for PGDATA, as ‘/var/ lib/pgsql/data’ as shown in Figure-8.
[Figure-8]
Step 11: Change ownership of this newly created directory ‘/var/lib/pgsql/data’ as postgres.postgres.
[Figure-9]
Step 12: Switch to non-root user ‘postgres’ using ‘su’ command. Once logged in as ‘postgres’, run the following command to initialize the database:
/usr/local/pgsql/bin/initdb -D /var/lib/pgsql/data
[Figure-10]
Step 13: Once database is initialized, we can run the postgres server using the following command:
/usr/local/pgsql/bin/postgres -D /var/lib/pgsql/data > pg_log 2>&1 &
[Figure-11]
Step 14: Create a database named ‘tests’ and use this database using the following commands as shown in Figure-12.

[Figure-12]
Step 15: Exit from psql prompt using ‘\q’, exit from ‘postgres’ user shell and open ‘pg_hba.conf’ file inside ‘/var/lib/pgsql/data’ as shown in Figure-13.
[Figure-13]
Step 16: Now we need to set up start script for starting PostgreSQL like other services in CentOS. There is a default start-script named ‘linux’ in this location:
‘/usr/local/src/postgresql-9.2.4/contrib/start-scripts/’
[Figure-14]
Step 17: Copy this start-script for PostgreSQL in ‘/etc/init.d/’ directory by the name ‘postgresql’ as shown in Figure-15.
[Figure-15]
Step 18: We can change configuration settings in this start-up script. To change the settings, open ‘/etc/init.d/postgresql’ in ‘vi’ editor.
[Figure-16]
Step 19: One thing we need to change in postgresql start-up script is PGDATA location to ‘/var/lib/pgsql/data’ as shown in Figure-17.
[Figure-17]
Step 20: Grant execute permission to this start-up script using ‘chmod’ as shown in Figure-18.
[Figure-18]
Step 21: Now we can start, stop, restart or see status of postgresql service using following commands:
# service postgresql start
# service postgresql restart
# service postgresql status
# service postgresql stop
Use ‘chkconfig’ command to start PostgreSQL service at startup of CentOS as shown in Figure-19
[Figure-19]
Reboot CentOS and see using ‘service postgresql status’ command, if this service starts automatically at startup.
So, we have installed PostgreSQL 9.2.4 in CentOS 6.4.