Installation of CentOS 6.4 in VMWare Workstation 9.0.2
We have seen in our previous post how to Create a CentOS 6.4 Virtual machine in VMWare Workstation 9.0.2. Now we will look into the installation steps of CentOS 6.4 operating system inside VMWare Workstation.
In Virtual machine ‘Edit settings’ option, chose CD/DVD option to select the installation Disk/ISO images from CentOS. Remember to check the option ‘Connect at power on’, so that the CD/DVD/ISO is connected to the machine when we boot it. When we start the Virtual machine, we get the Figure-1 as shown below. Select ‘Install or upgrade an existing system’ to do a fresh installation of Centos 6.4.

[Figure-1]
In the next step, it asks to do a media test before beginning the installation. We may chose to go for a media test to verify the installation Disk/ISO image, or we may skip this test. Select ‘Skip’ as shown in figure-2.

[Figure-2]
In the next figurre, it displays the logo of CentOS 6, as shown in figure-3.

[Figure-3]
In the next step, we need to chose the language that we would like to use during the installation process. The default selection is Engish (English). If we need to select any different language, we may do the selection from the given list, else we may leave the default language and clieck Next as shown in figure-4.

[Figure-4]
We have to now select the appropriate keyboard based on regional settings. The keyboard, by default, is shown as U.S. English. If we prefer ‘United Kingdom’, we may chose that or any other option from the given list, based on our keyboard. We may leave the default selection as ‘U.S. English’ for now and click ‘Next’ as shown in figure-5.

[Figure-5]
In the next step, we need to specify the storage device for this installation. We may chose ‘Basic Storage Device’, that is by default, or we may chose ‘Specialized Storage Devices’ for SAN storage or other such specialized storage. Chose the default option and click on ‘Next’ as shown in figure-6.

[Figure-6]
Next, we get a warning for Storage Device, that it may contain data, we may chose to ‘Discard any data’ that is in it, or we may chose to keep the data, if we think, the virtual disk contains some data. In this case, it is a new virtual disk, so we may chose ‘Yes, discard any data’, also we need to check the option ‘Apply my choice to all devices with undetected partitions or filesystems’ to make it applicable as shown in figure-7.

[Figure-7]
Specify the hostname for this machine. We may chose any hostname, for this installation, we may use ‘centos64’ as the hostname as shown in figure-8. We may also use a fully qualified domain name as hostname. We may Configure network at this stage or leave it for now, as we can do it later once installation is done. Click on ‘Next’ to continue.

[Figure-8]
Next, we need to select the timezone, we may chose the appropriate timezone, in this case, ‘Asis/Kolkata’ as shown in figure-9 and click on ‘Next’ to continue.
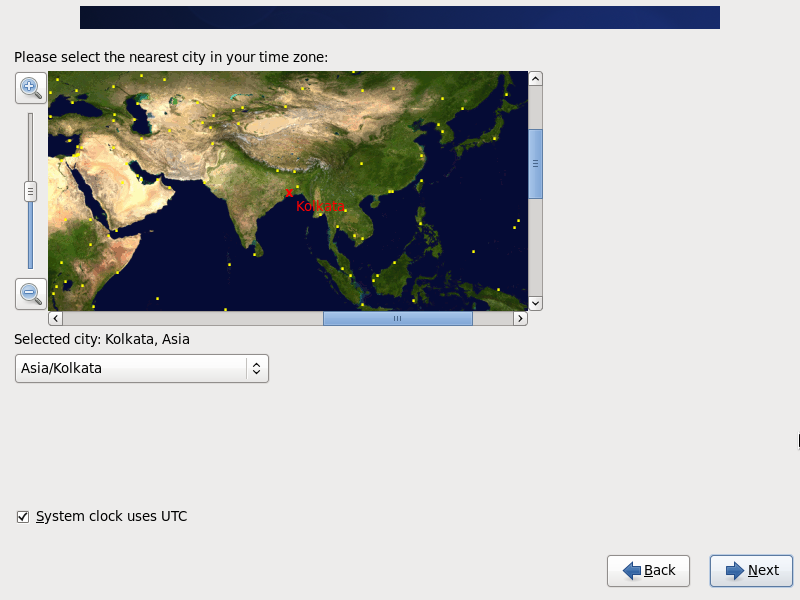
[Figure-9]
We need to give a password for ‘root’ account. ‘root’ account is the administrator account in CentOS. Try to give a strong password and click on ‘Next’ to continue as shown in figure-10.
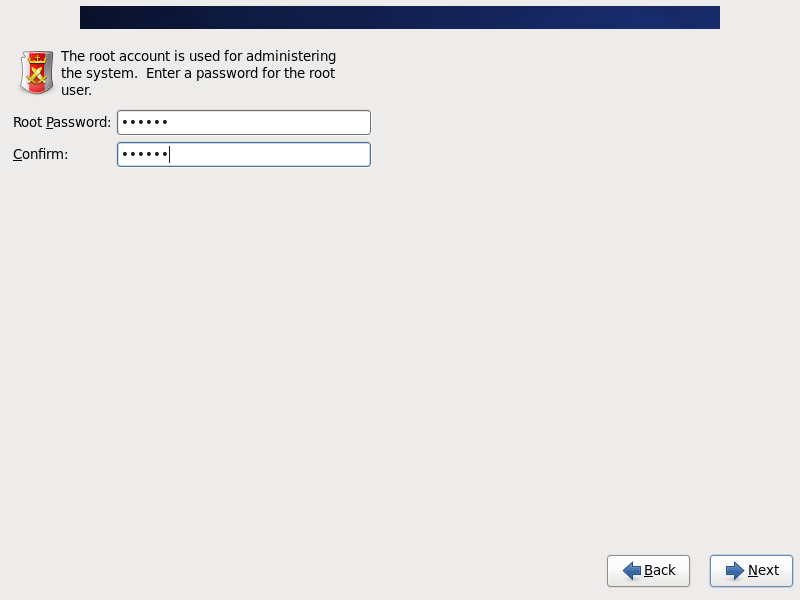
[Figure-10]
The next screen provides the options to use disk space. We may chose to ‘Use all space’, which means that all partitions will be removed and the complete disk will be available for use. We may also chose to replace only the linux system, and leave other partitions such as VFAT or FAT32 as such. We may chose to ‘Shrink current system’ to make room for new installation. We may chose not to touch the existing partitioning layout and use only the free space for new installation. We may also chose to create a custom layout as per our requirement. As it is a new virtual disk, click on ‘Use all space’ as shown in figure-11 and click ‘Next’ to continue.
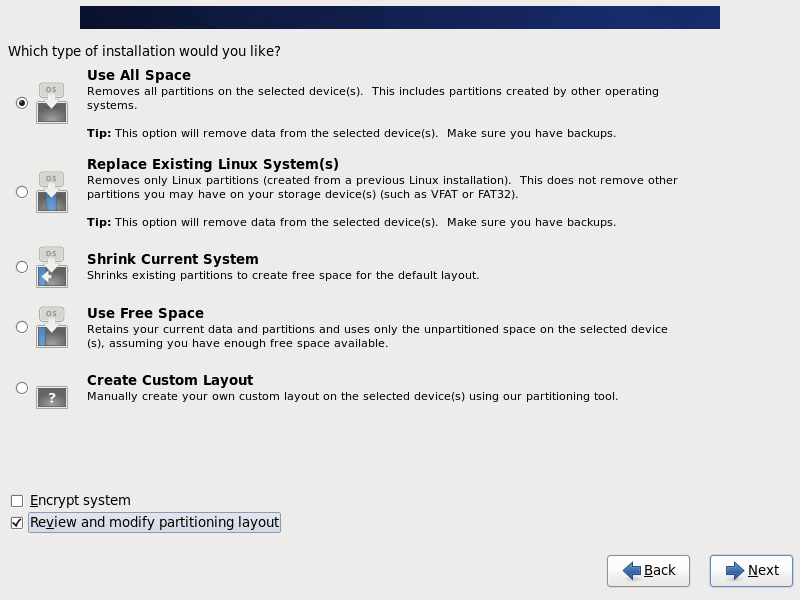
[Figure-11]
Next step is to create a partitioning layout for this new installation. We may chose to create a Volume Group and Logical Volumes inside this Volume Group. We have taken a virtual disk size of 100GB, so we can allocate this size among various Physical partitions, Volume Groups and Logical Volumes. The next screen ‘Please select a Device’ as shown in figure-12 is used for this.

[Figure-12]
To take an example, we may define the following partitioning layout:
| Filesystem | Mounted on | Size |
| /dev/sda1 | /boot | 500mb |
| vg_centos64 | 100000mb | |
| lv_var | /var | 20000mb |
| lv_htdocs | /htdocs | 35000mb |
| lv_root | / | 10000mb |
| lv_home | /home | 3000mb |
| lv_tmp | /tmp | 3000mb |
| lv_mondo | /mondo | 10000mb |
[Table-1]
After creating the structure as per Table-1, we get the figure-13 as shown below:

[Figure-13]
Clicking on Next button shows the figure-14, that gives Format warnings that /dev/sda will be formatted and all data inside it will be destroyed. Click on Format to continue.

[Figure-14]
The next screen Figure-15 shows the warning about Writing storage configuration to disk. It displays a message that the partitioning options will be written to disk and data on it will be lost. Click on ‘Write changes to disk’ button.

[Figure-15]
The next figure-16 shows that the formatting is being done on the disk.

[Figure-16]
The next figure-17 shows the options to set Boot loader operating system, It will be installed on /dev/sda and on vg_centos64-lv_root. We also get an option to define a boot loader password, if required. Click on ‘Next’ to continue.

[Figure-17]
On clicking ‘Next’ button, it starts to process the installation and tries to retrieve the installation information for CentOS as shown in figure-18.

[Figure-18]
This step is important as we can define in this step what to install. The default installation is Minimal install. We may chose other options such as Basic server, Database server, Web server etc. based on our requirement. Chosing these options decide what packages will be installed and what not. We can also do a Customized installation, now or later, where we may chose what packages should be installed from the list. We may chose Minimal install option for our example case and click on ‘Next’ as shown in figure-19.

[Figure-19]
When we click on ‘Next’ button, we see the message ‘Installation starting’ and the installation process starts for minimal installation of CentOS as shown in figure-20.

[Figure-20]
After the installation is finished, we get the following screen as shown in figure-21, that your CentOS installation is complete. Click on ‘Reboot’ to restart the virtual machine.

[Figure-21]