PWM – Open Source Password Self Service with OpenLDAP – User Interface – Activate Account
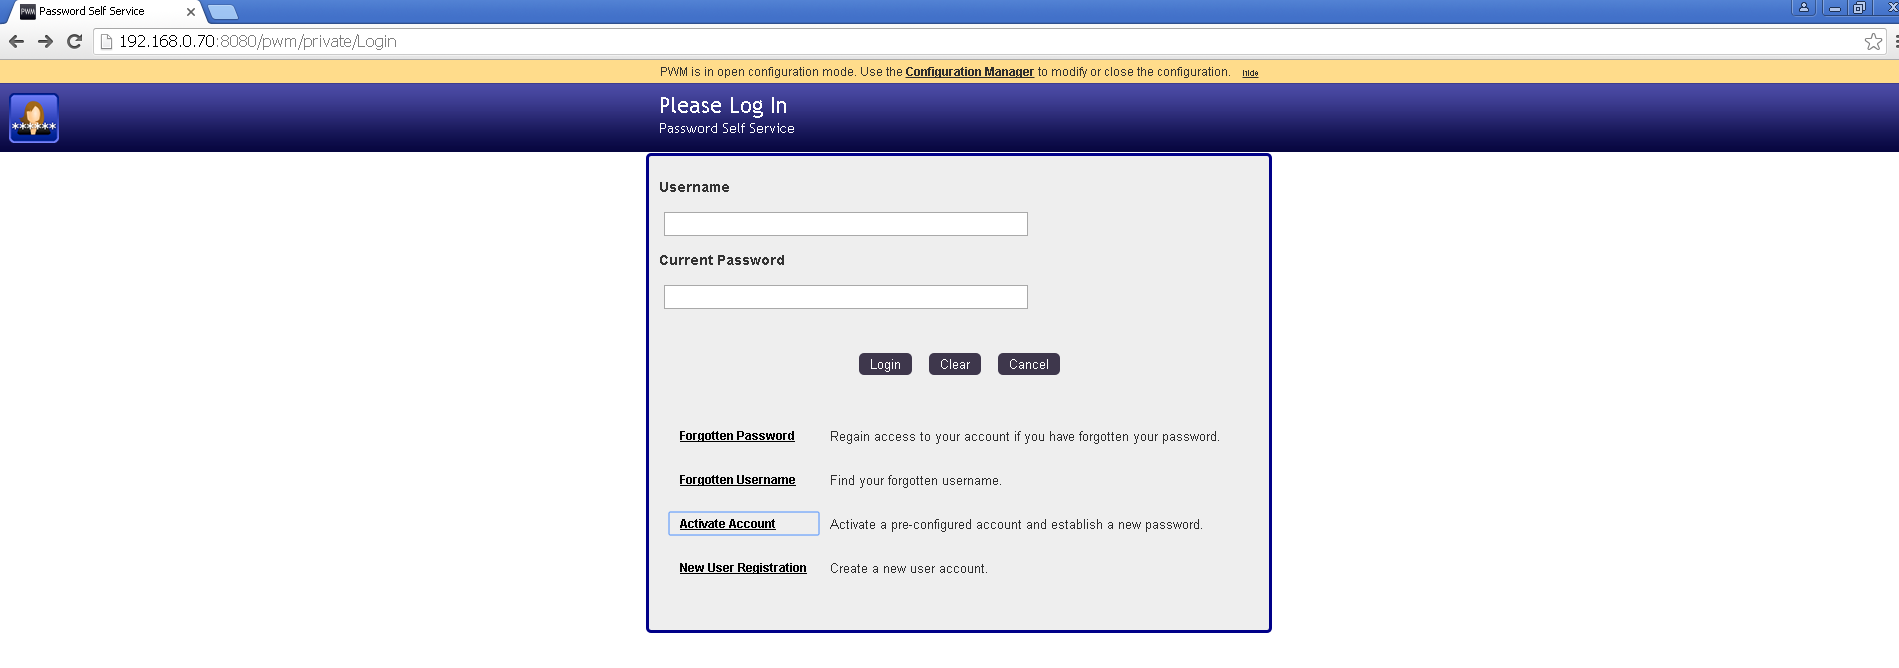
In PWM, if Activate account option is enabled in ‘Configuration’ under ‘User Activation’ module, then we get ‘Activate Account’ option in the login screen as shown below. Here we will see about how to activate users’ account and setup a password to that account.
Click on ‘Activate Account’ option as shown in the following screen:
Enter Username that is the login name of the user that needs activation. Enter Username as shown in the following screen and click on ‘Activate’ button.
If User is found, we get the following message “Your user account has been successfully activated. Be sure to complete the process, or you will not be able to access to your account.”. It means, the account has been successfully activated and now we need to define a password for this account to be able to login further. Click on ‘Continue’ button.
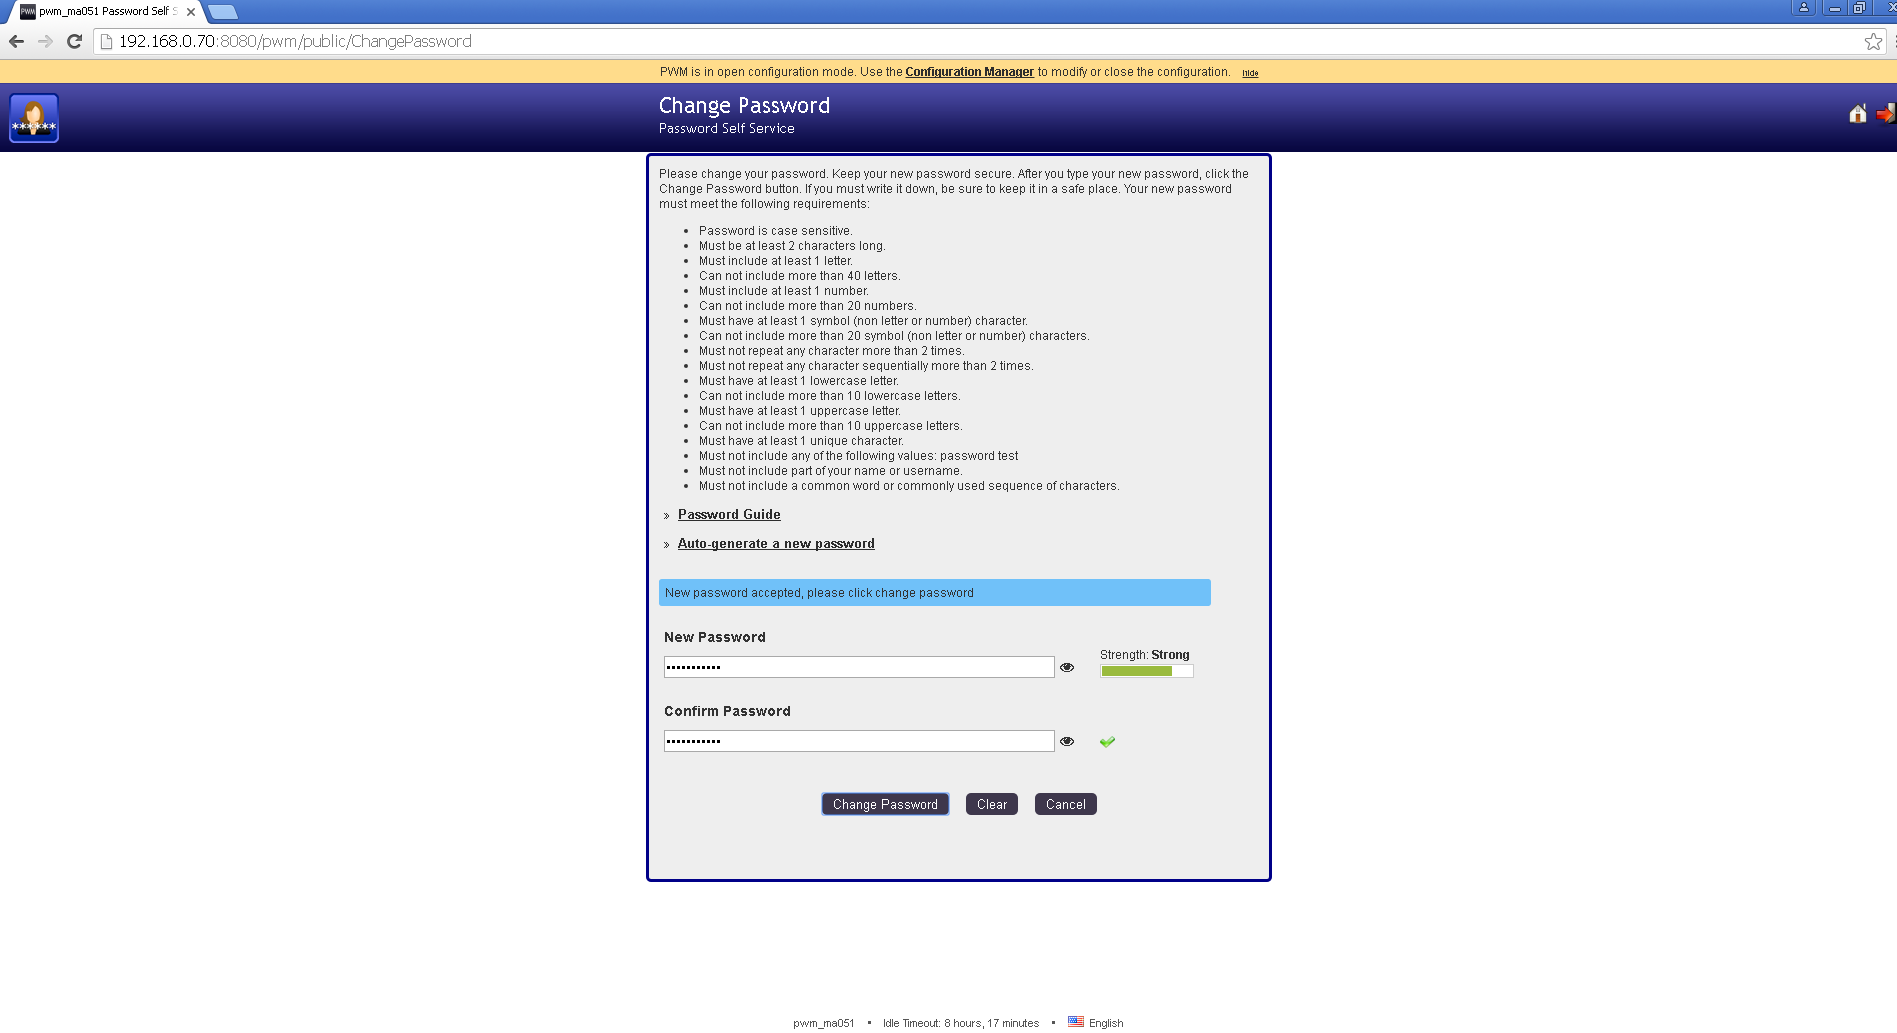
Now we get the ‘Change Password’ screen, wherein we need to define a password to this account. The ‘Change Password’ screen shown the ‘Password Policy’ that is currently enforced as per PWM password policy settings. Type in a New password and Confirm password that is as per the given password policy.

If New Password is as per the given Password policy, and Confirm password is same as New password, we get the following message in blue highlighted text, “New password accepted, please click change password.’ Further, next to New password text field, we see green indicator with caption : ‘Strength: Strong’, it means the given password is strong as per the policy and a green check mark next to Confirm password, that means the confirm password is same as new password. Now click on ‘Change Password’ button.
We get the following screen with the confirmation message: “Your password is being changed. This process may take several minutes, please be patient.” Wait for a while and once it is done, the session logs out automatically. Once it is done, the user is activated and a password is defined successfully.


