Add a Virtual machine to the inventory in VMware vSphere 5.5 (ESXi)
To add an exiting virtual machine to an inventory, you need to locate files for this virtual machine in the datastore. In the figure given below, in datastore named ‘datastore1’, there exists a virtual machine of Windows Server 2008 R2 x64.

Point to the vmx file by clicking on it with the mouse, and then right click on this file. A popup is shown as given in figure below. Click on the first option: ‘Add to Inventory’.

Once you click on the option ‘Add to Inventory’, the next screen is displayed where you need to enter a name for this virtual machine. Be careful in naming it, so that you can distinguish this virtual machine from other virutal machines in inventory. Click on Next button.

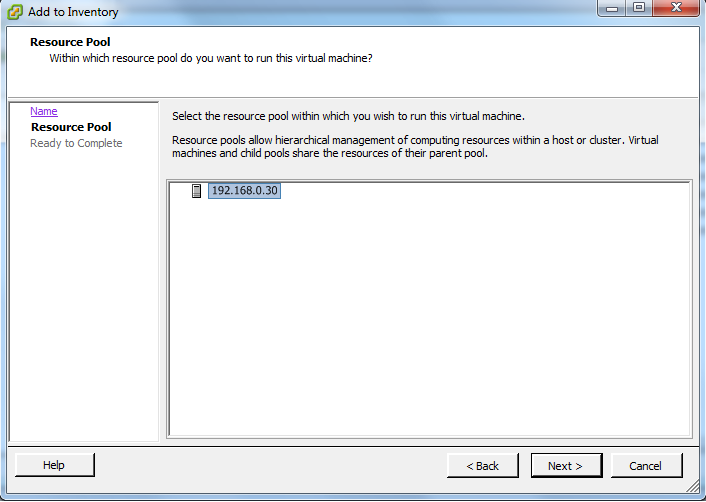
You need to specify the resource pool name to which you want to add this virtual machine. The resource pools if available/defined are listed in the box. Select the resource pool and click on Next button. If you have not defined any resource pool so far, you can still click on Next button. You may create resource pools and assign virtual machines towards it later from Inventory tab.
The next screen is ‘Ready to Complete’. Click on Finish button. The virtual machine will be added to the inventory.

The following figure shows that the virtual machine is added to the inventory. The name of the virtual machine is same as you have defined in previous steps and is ‘Windows Server 2008 R2 x64’ as shown in figure below.

Removing a virtual machine from the inventory:
If you want to remove this virtual machine from the inventory, try the following steps:
- Right click on the name of the virtual machine in inventory view.
- From the pop up menu, click on the second last option: ‘Remove from inventory’.
- The virtual machine will be removed from inventory, but will remain on the disk inside datastore.