Review of AOMEI Backupper 1.1
(Free Backup and Restore Software for Windows)
Backup is needed in case of catastrophies/failures that may be physical, hard disk crash, system crash etc. It is of utmost importance to backup our crucial data online as well as offline. No business can afford to lose its data. Nor even an individual can afford to lost his data in any case. A lot of backup software are available, amongst which AOMEI BACKUPPER 1.1 is one such backup and restore software. Today we will discuss about AOMEI BACKUPPER 1.1 and see how it performs.
It can be downloaded from http://www.aomeitech.com and it comes as a free version for home users and commercial users. Installation is easy and can be done following the steps shown in installation wizard.
AOMEI BACKUPPER is the windows backup software for Windows 7/8/XP/Vista and Server 2003/2008/2011/2012 (both 32bit & 64bit) users.
Features:
- Disk Backup
- Partition Backup
- System Backup
- Clone Partition
- Clone Disk
- Create bootable media
- Explore image
Installing AOMEI BACKUPPER 1.1
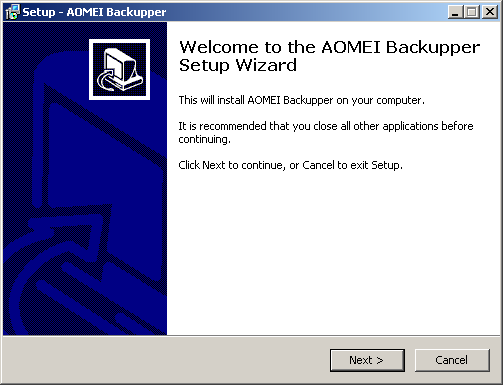
# Click on the downloaded image to start the installation process. The following Welcome screen is displayed, click Next to continue.
# Next screen shows the License agreement, click on the option button ‘I accept the agreement’ and click on Next button.

# In the next screen, we need to specify the installation location of AOMEI Backupper. You may chose to install it in the default location or select a different location by clicking on Browse button. After specifying the Destination location, click on Next to continue.

# We can select where to create program shortcuts. By default, they will be created in Start menu folder. To chose a different location, click on Browse, select the folder and click on Next to continue.

#We can chose if we need to create a deskop or Quick launch icon. If we need to create these icons, we must check the box and click on Next to continue.

# Now it is ready to install. Click on Next to continue.

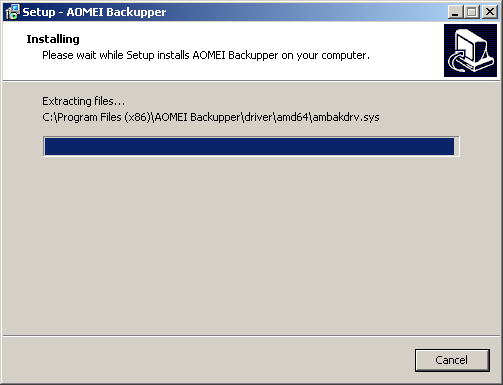
# We now get the Installing screen, it shows the progress of installation of AOMEI Backupper.
# AOMEI Backupper installation is now done. Click on Finish button.

Running AOMEI BACKUPPER 1.1

# We get the main screen of AOMEI Backupper with an option to ‘Create New Backup’. To create a new backup, click on ‘+ Create New Backup’ button.

# The backup may be of three types:
- Disk Backup : Backup of the entire disk and is used for taking complete backup of the machine.
- Partition Backup: Backup of the partitions, we can select which partition to backup and only the selected partitions will be backup.
- System backup: It is a very nice option to backup the entire system drive.

# Clone feature is used to create copies of Partitions or Volumes.Cloning can be of two types:
- Partition clone: It can be used to clone Disk partitions to another partitions.
- Disk clone: It can be used to clone Disks, generally used, when we have a final disk and we need to produce many such copies of it without requiring re-installation.

# AOMEI Backupper comes with certain Utilities, such as:
- Check Image: Verify the image from backup for its integrity.
- Create Bootable Media: It creates a Bootable Disk required to boot the machine.
- Explore Image: We can mount the backup image and explore it like we do with the filesystem in Windows explorer.

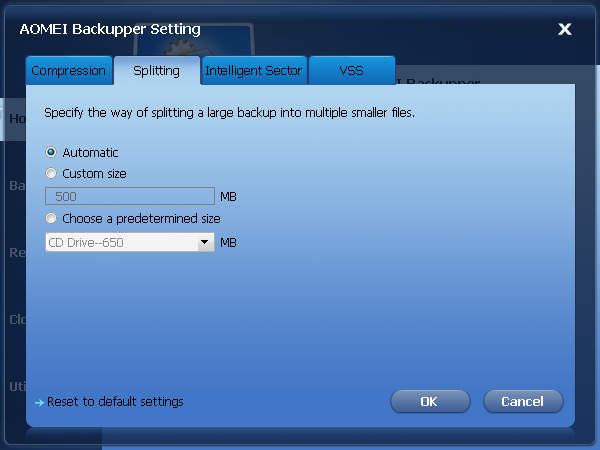
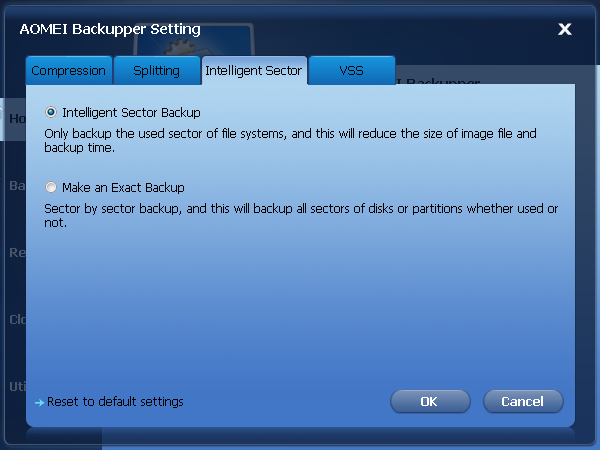
# AOMEI Backupper provides certain settings at global level for Backup. These are:
- Compression
- Splitting
- Intelligent Sector
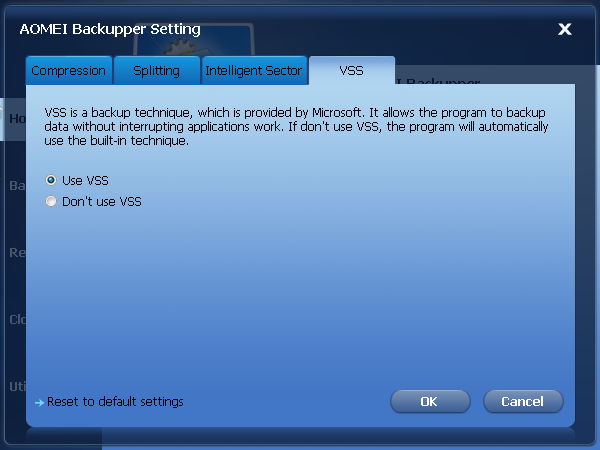
- VSS

2. Splitting: We can specify the size of the backup image and also decide when to split it. If the backup file size is too big, instead of making one single backup image file, we may decide to split it into parts for easy handling. It can be automatic, custom size or we may chose a predetermined size, specially in case of CD, DVD etc.
3. Intelligent Sector: The backup process may be intelligent, such that only used sectors are backed up. For this, we need to select Intelligent sector backup’, else all sectors,whether used or not, are backed up.
4. VSS: It is feature from Microsoft called Volume Shadow Copy Service and is useful, when we backup data while we are working on the machine. Using this feature, we can create consistent backups of open files and applications. We can create shadow copies for shared folders. If we don’t wish to use this feature, then we need to check the option button ‘Don’t use VSS’.
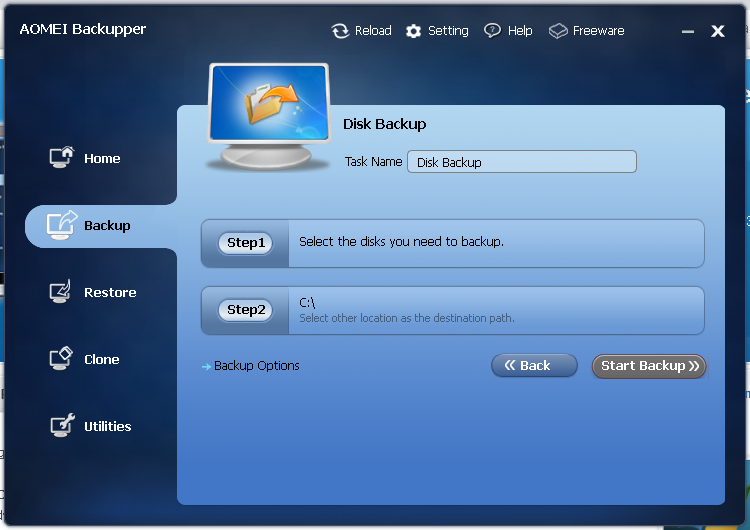
Disk Backup: Taking Disk backup is as simple as selecting the disk, specifying a destination location and backup is done. Besides other backup settings mentioned above, we also have the feature of encrypting the backup and provide some comments that relate to our current backup. The screenshots follow:
Select Task name, disk we need to backup and the destination path.
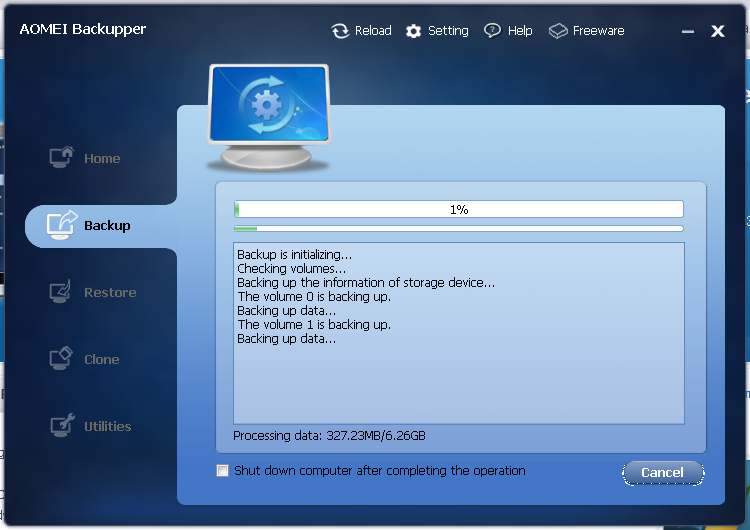
Click ‘Start Backup’ and the backup process starts as shown below.
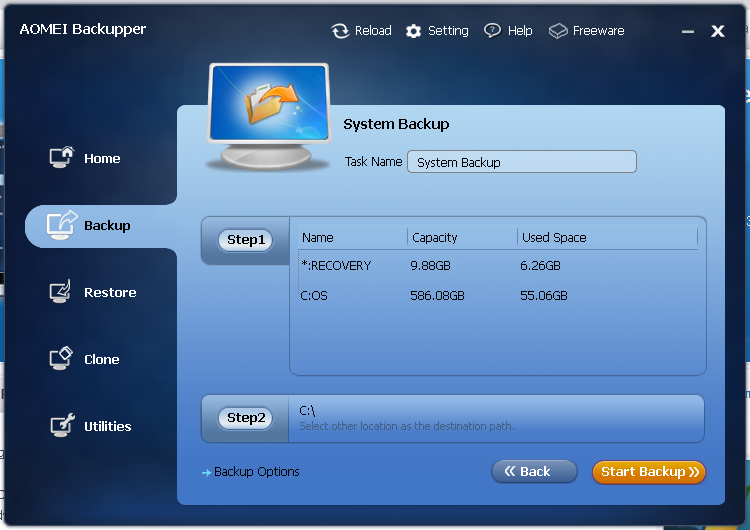
System Backup: It is used to backup the entire system, we only need to specify the Task name and destination path, and ‘Start Backup’ starts the backup job.
Creating Bootable Disc: We can make a bootable disc based on Linux or Windows.

If you like the review, try to test the software yourself to explore it in detail about its features and benefits.
Disclaimer:
We have made all efforts to provide accurate and relevant information. However, we cannot guarantee that there will be no errors. With respect to documents and information on the current and archived versions of our website, we do not make any warranty, expressed or implied, with respect to the documents available from my website. Additionally, we assume no legal liability for the accuracy, completeness, or usefulness of any information, product, or process disclosed herein and do not represent that use of such information, product, or process would not infringe on privately owned rights. This material is for information purposes only. If there are errors, we apologize now in advance. We suggest that you use the information as is and we exclude ourselves from any claims.